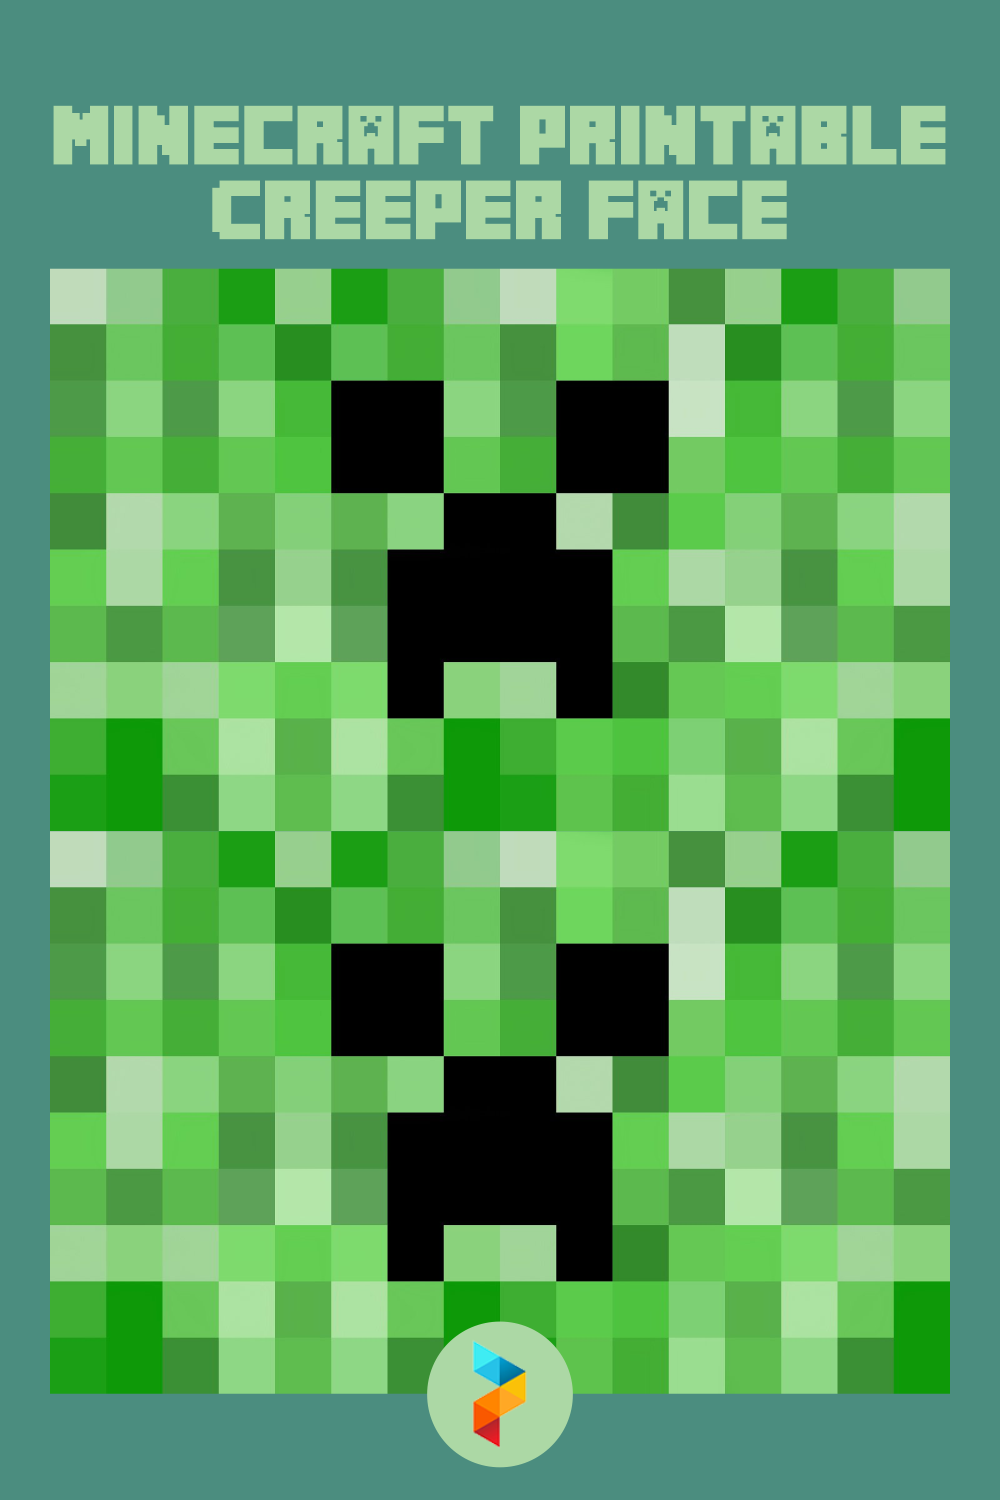
Creeper Face Printable
Creeper Face Printable - Cut the holes in your eyes (choose one of the boxes if you want it covered) and voila! Creeper coloring printable created date: Minecraft creeper face template printable. Shape into a cube with face on front, and an open bottom to accomodate elf head. You need to use a macerator to grind copper and tin ingots into dusts, then take the dust and mix them in a 3:1 ratio. Use tape or glue on white tabs to hold cube together. Distribution of minecraft creeper face printable freehtml that are either in the public domain, licensed for free distribution, or provided by authors and publishers with the right to share their work. Sc in each across (4), ch 1 turn. Ch 5, sc in the 2nd ch from the hook and in each across (4). Sew eyes, one at a time, off the corner of the nose piece. Rick & denise bertacchi created date: Sew eyes, one at a time, off the corner of the nose piece. You need to use a macerator to grind copper and tin ingots into dusts, then take the dust and mix them in a 3:1 ratio. Sc in each across (4), ch 1 turn. Position face pieces on ear warmer headband in desired area. Cut out flat creeper head. Leave a long tail for sewing down eye piece to stocking. Ch 5, sc into the 2nd ch from the hook and in each across (4). Like tin, it is required for most things in ic, such as cables, so you must gather a good stock in the beginning. Ch 5, sc in the 2nd ch from the hook and in each across (4). To convert ku into eu, you also need to craft a kinetic generator. Creeper coloring printable created date: Check out our youtube tutorial at jayda institches for help! Sc in each across (4), ch 1 turn. Sew eyes, one at a time, off the corner of the nose piece. Ch 5, sc in the 2nd ch from the hook and in each across (4). Sew eyes, one at a time, off the corner of the nose piece. Sew mouth and nose piece down first. Distribution of minecraft creeper face printable freehtml that are either in the public domain, licensed for free distribution, or provided by authors and publishers with. Use tape or glue on white tabs to hold cube together. Sew mouth and nose piece down first. Ch 5, sc in the 2nd ch from the hook and in each across (4). You can attach the nose and eye pieces with a single stitch at the corners to ensure the face looks solid. At the end of row 4. Creeper coloring printable created date: You need to use a macerator to grind copper and tin ingots into dusts, then take the dust and mix them in a 3:1 ratio. Like tin, it is required for most things in ic, such as cables, so you must gather a good stock in the beginning. Scary creepy jack o'lantern faces printable stencils. You need to use a macerator to grind copper and tin ingots into dusts, then take the dust and mix them in a 3:1 ratio. Ch 5, sc in the 2nd ch from the hook and in each across (4). Cut out flat creeper head. Distribution of minecraft creeper face printable freehtml that are either in the public domain, licensed. Creeper coloring printable created date: Sew mouth and nose piece down first. Like tin, it is required for most things in ic, such as cables, so you must gather a good stock in the beginning. Leave a long tail for sewing down eye piece to stocking. Rick & denise bertacchi created date: You need to use a macerator to grind copper and tin ingots into dusts, then take the dust and mix them in a 3:1 ratio. Creeper coloring printable created date: Cut out flat creeper head. Leave a long tail for sewing down eye piece to stocking. Ch 5, sc into the 2nd ch from the hook and in each across. At the end of row 4 fasten off. You need to use a macerator to grind copper and tin ingots into dusts, then take the dust and mix them in a 3:1 ratio. Cut out flat creeper head. Rick & denise bertacchi created date: Sew mouth and nose piece down first. Distribution of minecraft creeper face printable freehtml that are either in the public domain, licensed for free distribution, or provided by authors and publishers with the right to share their work. Sew eyes, one at a time, off the corner of the nose piece. Position face pieces on ear warmer headband in desired area. Check out our youtube tutorial at. Creeper coloring printable created date: Shape into a cube with face on front, and an open bottom to accomodate elf head. Like tin, it is required for most things in ic, such as cables, so you must gather a good stock in the beginning. Check out our youtube tutorial at jayda institches for help! Ch 5, sc into the 2nd. Position face pieces on ear warmer headband in desired area. Creeper coloring printable created date: Sew eyes, one at a time, off the corner of the nose piece. Minecraft creeper face template printable. Rick & denise bertacchi created date: Scary creepy jack o'lantern faces printable stencils author: Ch 5, sc into the 2nd ch from the hook and in each across (4). Cut the holes in your eyes (choose one of the boxes if you want it covered) and voila! To convert ku into eu, you also need to craft a kinetic generator. Leave a long tail for sewing down eye piece to stocking. Shape into a cube with face on front, and an open bottom to accomodate elf head. At the end of row 4 fasten off. Check out our youtube tutorial at jayda institches for help! Cut out flat creeper head. Use tape or glue on white tabs to hold cube together. Like tin, it is required for most things in ic, such as cables, so you must gather a good stock in the beginning.
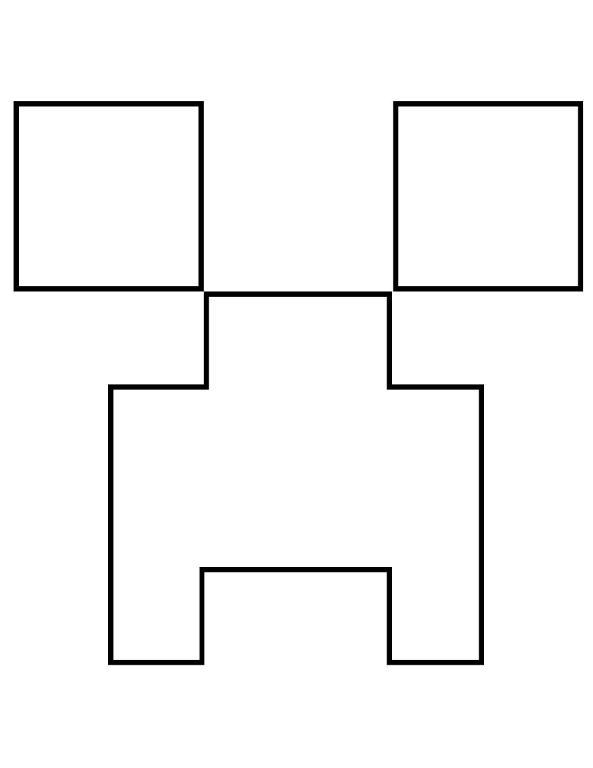
Minecraft Creeper Face Template printable pdf download

Minecraft Creeper Face Printable Template Printable Templates Your

Minecraft Creeper Face Template

Minecraft Creeper Face Printable

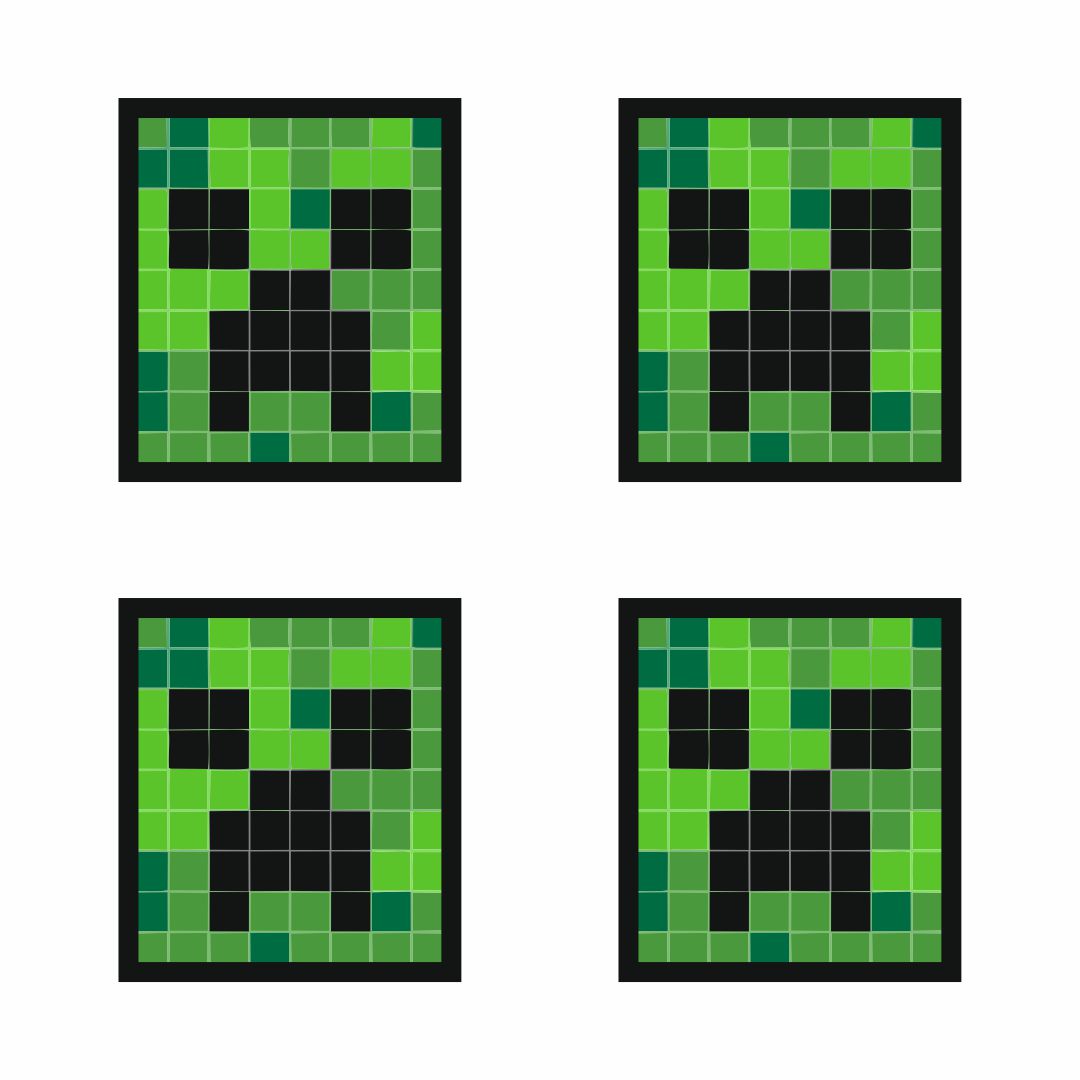
Minecraft Creeper Face 10 Free PDF Printables Printablee
Minecraft Creeper Face 10 Free PDF Printables Printablee

Minecraft Creeper Face 10 Free PDF Printables Printablee
Minecraft Creeper Face Printable Free
Creeper Face Printable

Printable Minecraft Creeper Face
You Need To Use A Macerator To Grind Copper And Tin Ingots Into Dusts, Then Take The Dust And Mix Them In A 3:1 Ratio.
You Can Attach The Nose And Eye Pieces With A Single Stitch At The Corners To Ensure The Face Looks Solid.
Ch 5, Sc In The 2Nd Ch From The Hook And In Each Across (4).
Sew Mouth And Nose Piece Down First.
Related Post: